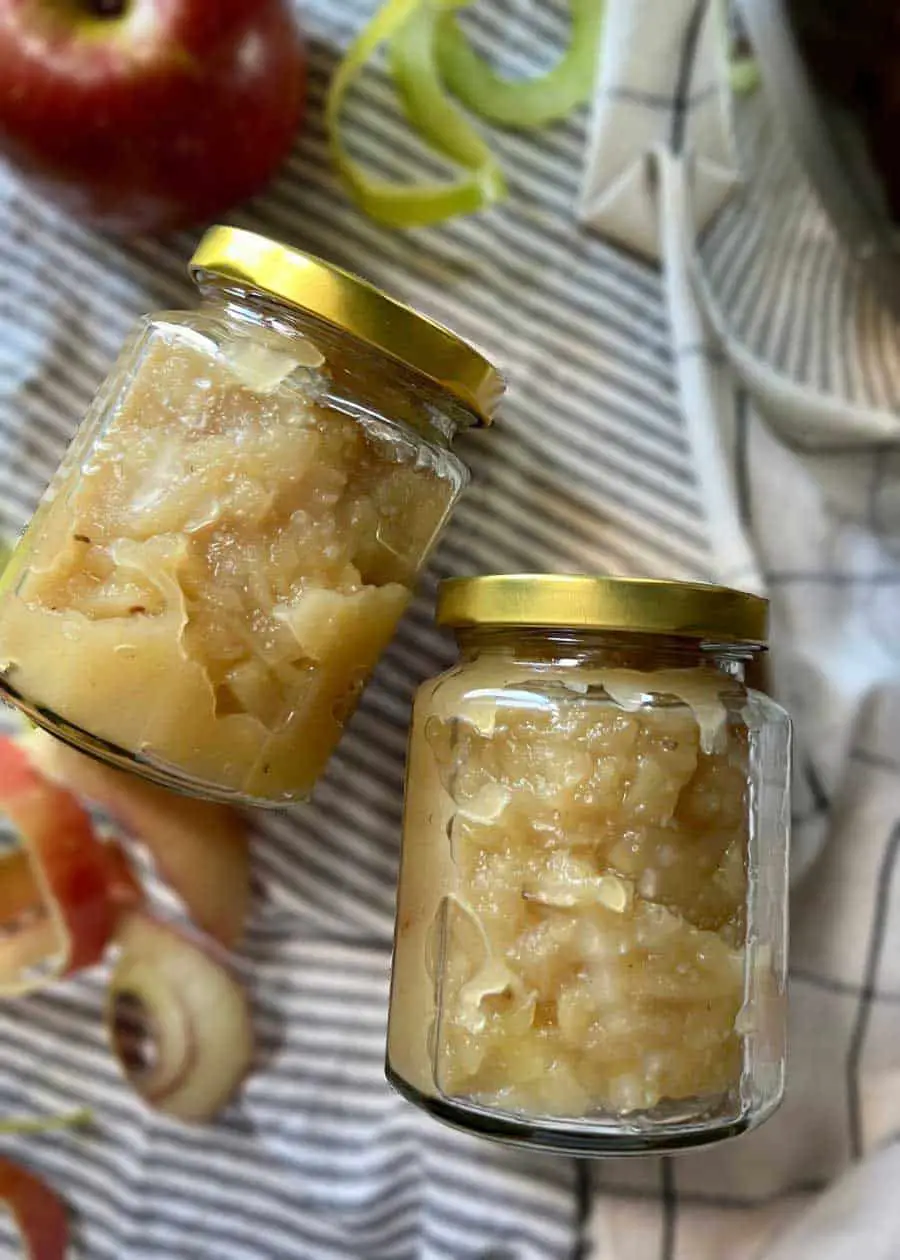
Caramelized apple is very simple and easy. It tastes best in the fall when there are lots of apples. I usually make more and vacuum pack as jam so it’ll keep for months or a year. To learn how to vacuum pack it: How To Vacuum Seal Homemade Jams In A Jar. I also make savory apple tartlets for dessert.
Watch how to make:
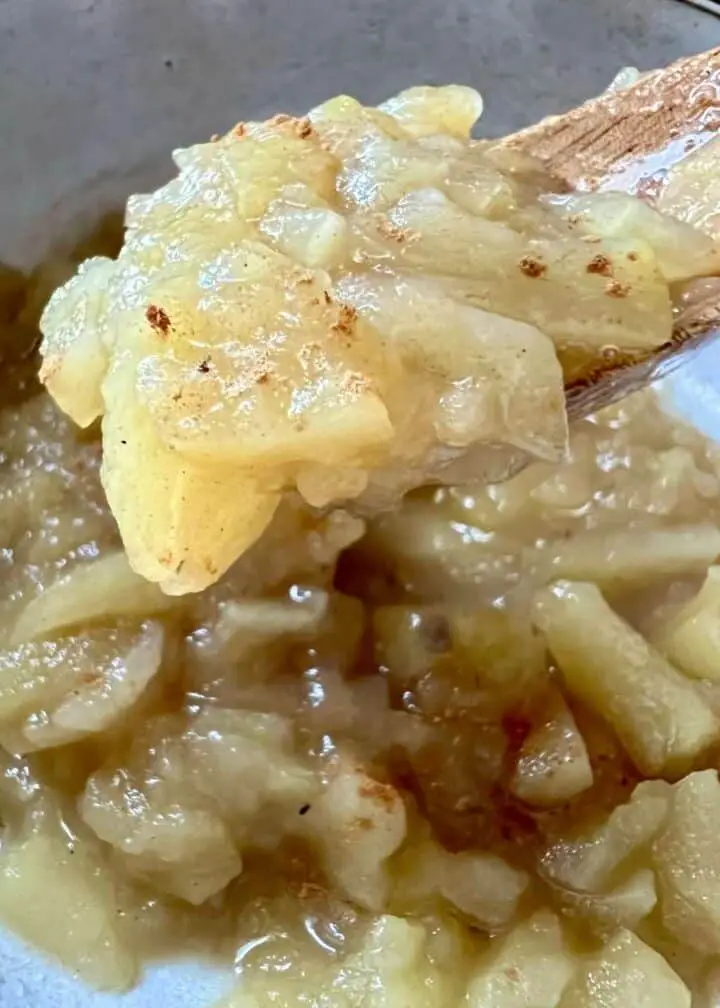
Caramelized apple recipe
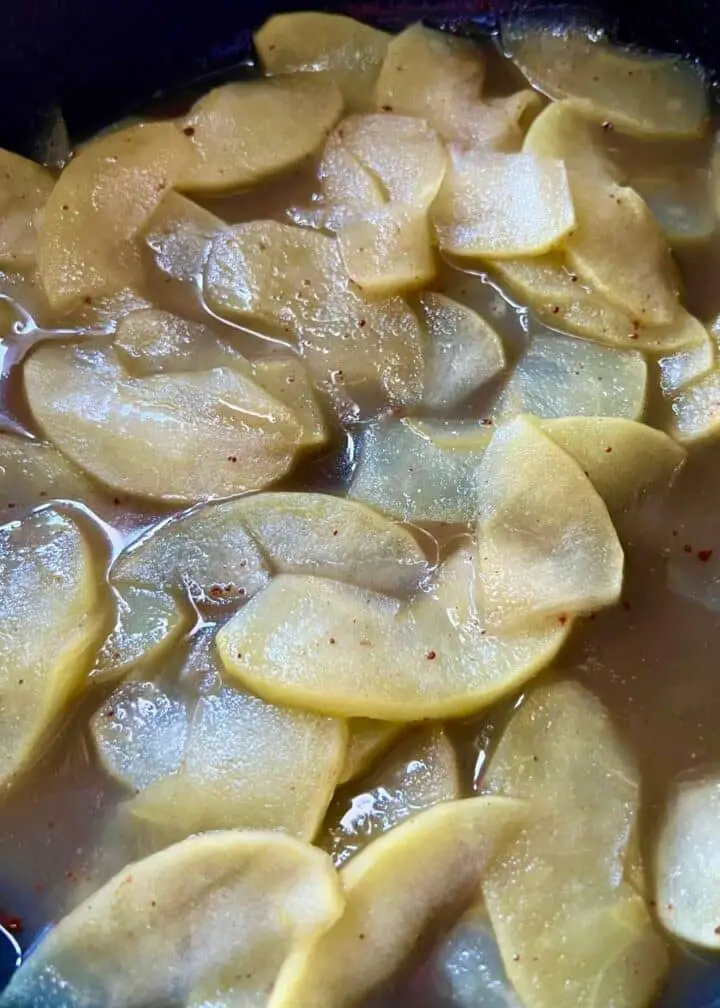
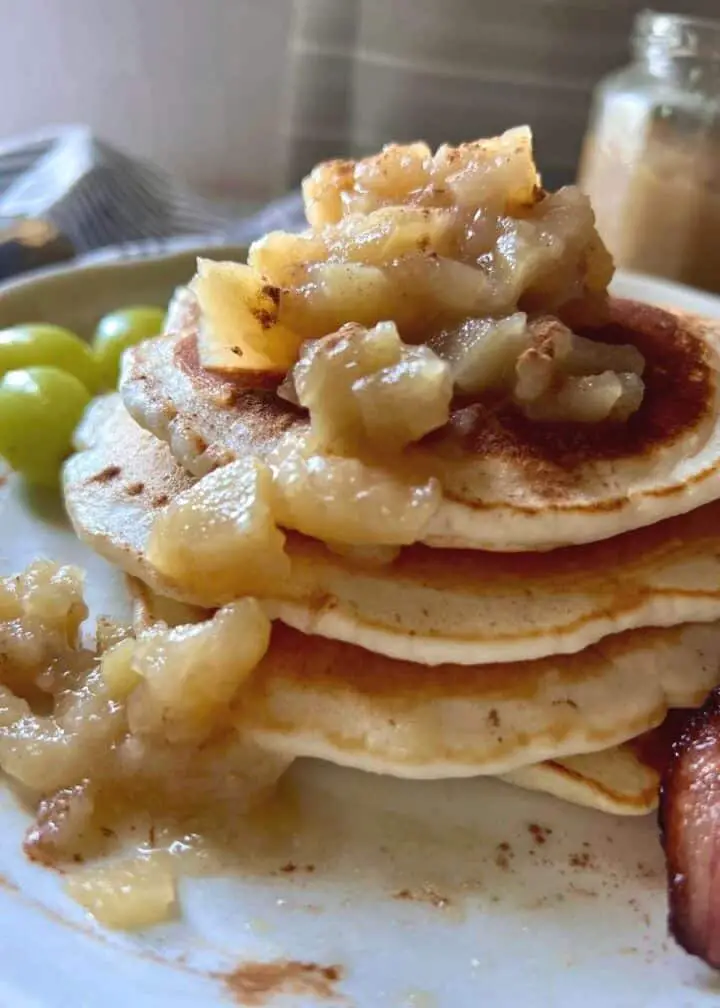
I make 2 kinds of caramelized apples. One is diced, the other sliced, they’re prepared the same way. Both taste great on pancakes or waffles or in apple tartlets. They’re perfect as a side dish for bacon, BBQ pork, and pork chops. They can be used as a fat remover and flavor enhancer. Since I like it a little tart, I use green with red apples, then you don’t need to add lemon juice or vinegar. If you like it sweet, you can use just red apples.
Ingredients:
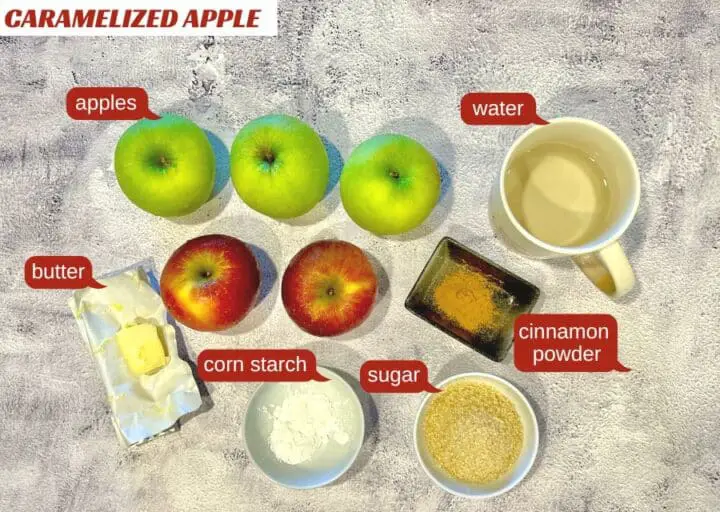
- Apple – red or green apples are fine. I prefer it a bit tart, so I used both to have a sweet and sour combination.
- Butter – to give it more flavor.
- Sugar – I use cane sugar to give the apple a little cane flavor. You can use any sugar you like.
- Water – for more hydration.
- Cornstarch – It’s mainly used to thicken the caramelized apple.
- Cinnamon powder – to add more flavor. If you don’t like it, you can leave it out.
How to make:
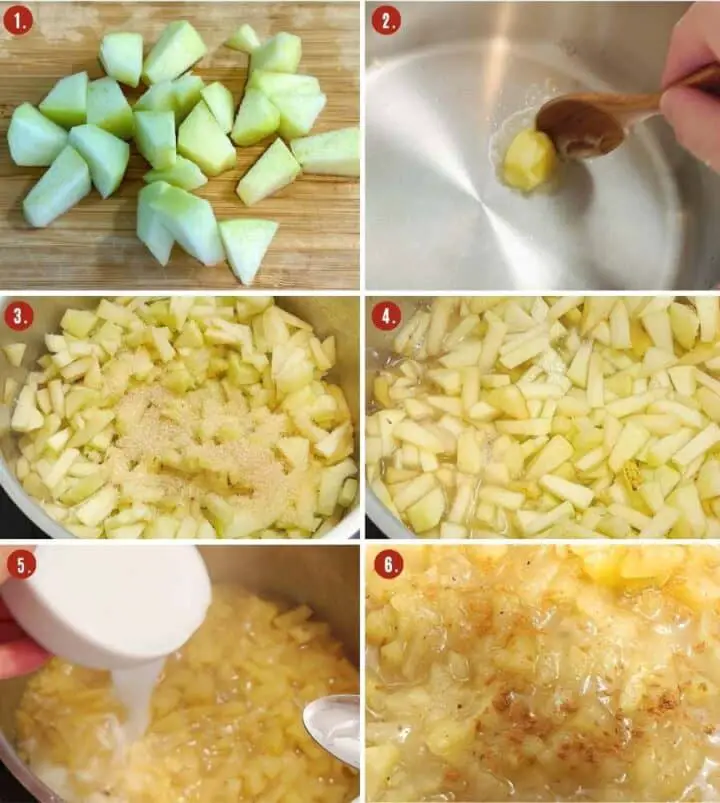
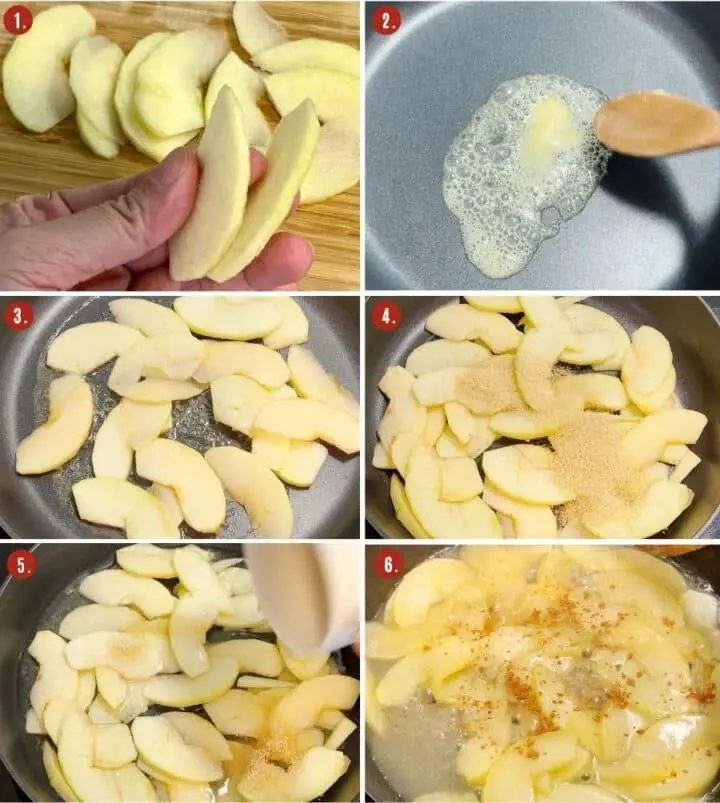
First, peel the apples, cut them into small cubes, add the butter after the pan is hot, then add the apples and the sugar and fry them, stirring, so that the apples can be caramelized.
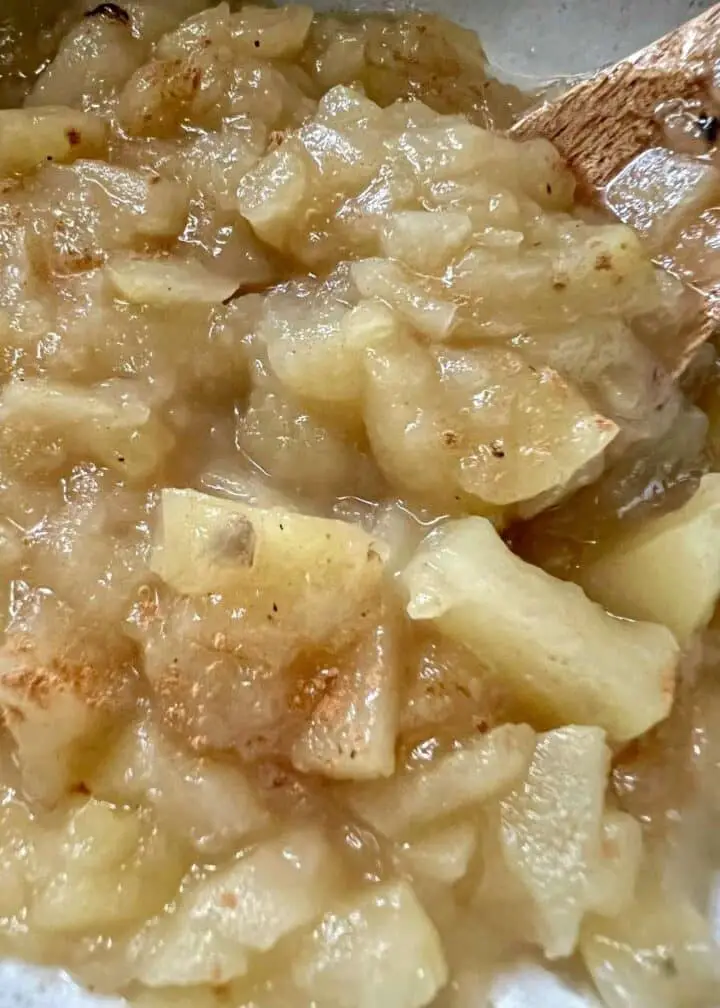
Then pour in the water, boil it, and add the cornstarch. Finally, add the cinnamon powder. If you like it softer, cook it longer, and if you want a firmer consistency, you don’t have to cook it too long.
Slices of apples, they’re prepared in the same way.
Pro tips to know:
- When you add the butter and fry it with the sugar and apples, turn the heat to low. Otherwise, it’ll burn easily. Fry the apples slowly until they have a caramel color.
- You should fry the apples with the sugar first and then add the water to color them. If you add the water first and then the sugar, the sugar won’t be colored.
Prevent apple from oxidative discoloration.
This is how you prevent the discoloration of apples if you don’t want to eat or cook them after you peel and cut them. You can soak them in salt water for 1 minute and then pour the salt water away. Or add some lemon juice and mix it well.
How to store for months
They can be stored in the refrigerator for months. As long as you know how to vacuum pack them. And it only takes less than 10 minutes. Check out this blog to learn how: How To Vacuum Seal Homemade Jams In A Jar.
More ways to use caramelized apples!
And a few other ideas for ways to use caramelized apples:
- Side dish with bacon, pork ribs, and pork chops;
- Dessert on apple tartlets or apple pie;
- Jam on toast, pancakes, or waffles;
Ingredients
- 5 apples, cut them into small cubes and slices
- 15 g butter, (Note 1)
- 60 g sugar, (Note 1)
- 200 ml water, (Note 1)
- 2 teaspoons cornstarch, (Note 1)
- a pinch cinnamon powder
Instructions
- Wash the apples, peel them, and cut them into small pieces and slices.
- First heat the pan on medium heat, put in the butter, and add the small apple cubes, stir for 30 seconds. (Note 2)
- Add the sugar and stir for 2 minutes with the apple cubes so that they get a nice golden brown color. (Note 3)
- Bring water to a boil, then add the cornstarch water and stir so it doesn't clump. (Note 4)
- Sprinkle some cinnamon powder on top to enhance the flavor.
FOR SLICED APPLES.
- You prepare another pan and follow the same instructions as above.
Video
Tips & Notes:
- Divide the butter, sugar, water, and cornstarch into two portions for the diced apples and the apple slices. If you’re only going to make one kind, you don’t need to divide them.
- When you add the butter, make sure the heat is low. Otherwise, it’ll burn easily and become bitter.
- Fry the apples with the sugar first before adding the water. This will allow the apples to caramelize and get a nice golden brown color.
- Add cornstarch to improve the consistency, but it must be added after the water has boiled. And when pouring, you need to stir constantly with a spoon, otherwise lumps will form.

Leave a Reply